User guide
1. Charging
- The sensor and display should be fully charged using a USB-C cable and power supply.
Leaving both devices switched off will improve charging speed! - The USB port of the display is located on the left side under the red power button.
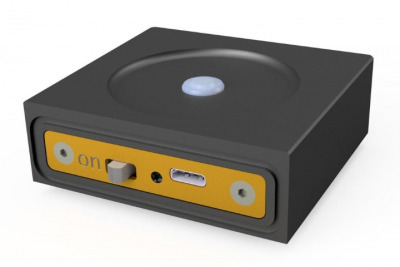
- The USB port of the sensor is located behind the cover, which is held in place by magnets.
2. Power up
- Turn the display on by pressing the power button once. If it is on, a single press resets the display.
- Switch the sensor on and off by moving the switch to "on" or "off" position. The switch is under a cover plate fixed by magnets.
To turn off the display press the power button twice in quick succession.
3. Operation of Node
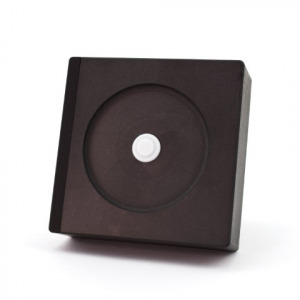
- The magnetic side cover has to be removed to access the controls.
- The sensor has a status LED, a USB Type C socket and a switch.
| LED Signal | Interval | Status |
|---|---|---|
| Green | 10 seconds | Okay |
| Red | ADC0_Rate (default=8Hz) | no connection |
4. Operation of Display or Collector
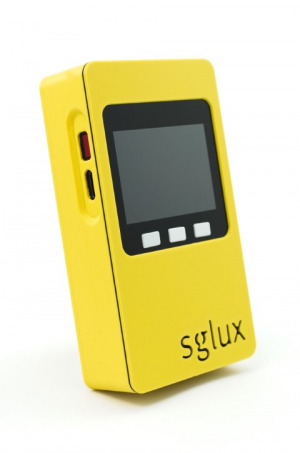
When a single sensor is connected to the display/collector, it acts as a display. If more than one sensor is connected, it acts as collector.
In collector mode, no measured values are displayed on the screen. Instead, there is a list of the connected sensors.
In both modes, serial communication with the display/collector is possible. For more details, please refer to the associated protocol definition.
Main Screen
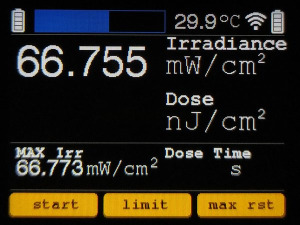
Display Description
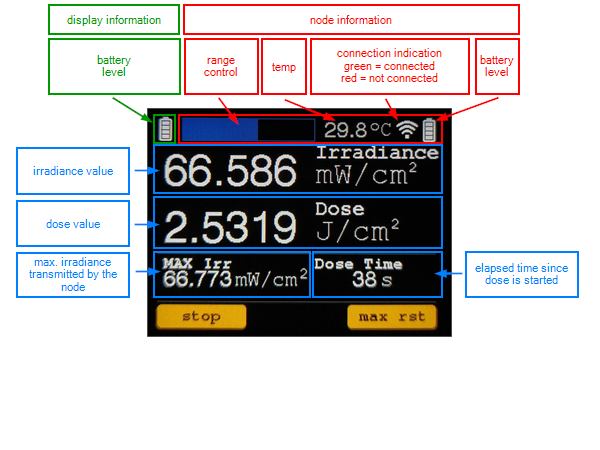
5. Perform dose measurement
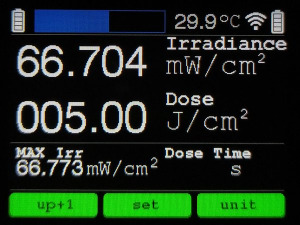
Set the limit for your dose
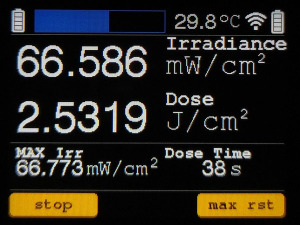
Dose is running
Dose is reached and alarm is triggered, display is beeping
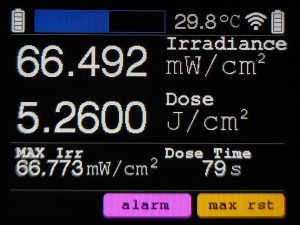
Alarm is confirmed
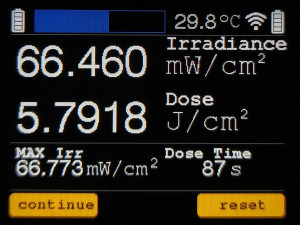
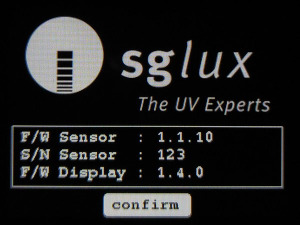
With firmware older than 2.0 it is required to confirm the boot screen by pressing a button.
